Are you tired of your cookies always turning into flat, unappealing discs rather than the picture-perfect shapes you see in the recipe? You’re not alone.
Many bakers encounter this common cookie conundrum. But fear not! In this comprehensive guide, we will delve into the reasons behind flat cookies and provide you with expert tips to ensure your cookies come out beautifully shaped, fluffy, and delicious.
So, let’s roll up our sleeves and discover the secrets to baking cookies that look as good as they taste.
Understanding the Culprits
To begin with, let’s uncover the primary reasons behind flat cookies. Identifying these factors is crucial in ensuring that your cookies maintain their shape.
1. Butter Temperature Matters
One of the key factors that can lead to flat cookies is the temperature of your butter. When butter is too soft or melted, cookies tend to spread excessively during baking. To prevent this, it’s essential to use butter that is at the correct temperature.
2. The Role of Flour
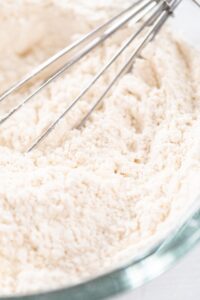
Flour acts as a structural component in your cookie dough. Using the right amount of flour and measuring it accurately is vital. Too much flour can make your cookies dry and dense, while too little can cause them to spread too much.

3. Leavening Agents
Leavening agents like baking powder and baking soda play a significant role in cookie structure. Using the correct amount is crucial. Too much can lead to cookies that rise and then collapse, while too little can result in flat cookies.
4. Mixing Technique
The way you mix your cookie dough can influence the outcome. Overmixing can lead to the development of excess gluten, resulting in a tough texture and spreading issues. Proper mixing techniques are essential.
Tips for Perfectly Shaped Cookies
Now that we’ve identified the culprits let’s explore how to combat these issues and bake cookies that retain their desired shape and texture.
1. Start with the Right Butter
Begin by using butter that is at the ideal temperature. It should be softened but not melted. Leave it out at room temperature for about 30 minutes before baking, or gently soften it in the microwave in short bursts.
2. Measure Flour Correctly
To ensure you’re using the right amount of flour, spoon the flour into your measuring cup and level it off with a flat edge. This method prevents compacting the flour, which can lead to excessive flour in your dough.
3. Choose the Right Flour
The type of flour you use also matters. All-purpose flour is a safe choice for most cookie recipes. However, if a recipe specifies a particular type of flour, follow it to achieve the best results.
4. Use Leavening Agents Wisely
Follow the recipe’s instructions regarding leavening agents. If a recipe calls for baking soda, use it, but don’t substitute it with baking powder. Be precise in your measurements.
5. Mind Your Mixing
Be cautious not to overmix your cookie dough. Mix until the ingredients are just combined, and no streaks of flour remain. Overmixing can result in excessive gluten formation, leading to spreading issues.
6. Chilling the Dough
After mixing your cookie dough, it’s advisable to chill it for at least 30 minutes or as specified in the recipe. Chilled dough spreads less during baking, leading to a more defined cookie shape.
7. Use Parchment Paper
Lining your baking sheet with parchment paper is a simple trick to prevent cookies from sticking and spreading too much. It also makes for easy cleanup.
8. Preheating the Oven
Ensure your oven is preheated to the correct temperature before placing your cookies inside. A properly heated oven helps cookies set quickly, maintaining their shape.
9. Baking One Sheet at a Time
When baking multiple batches, it’s best to bake one sheet of cookies at a time. This ensures even heat distribution and consistent results.
10. Check Baking Time
Keep a close eye on your cookies as they bake. Oven temperatures can vary, so it’s important to follow the recommended baking time in your recipe.
11. Cool on the Pan
Allow your cookies to cool on the baking sheet for a few minutes before transferring them to a wire rack. This helps them set and maintain their shape.
Recipes to Try
Now that you have the tips to prevent flat cookies, let’s explore some delectable cookie recipes to put your newfound knowledge to the test. Each of these recipes is tried and tested to ensure you’ll achieve perfectly shaped cookies.
1. Classic Chocolate Chip Cookies
[Link to Recipe: Classic Chocolate Chip Cookies]
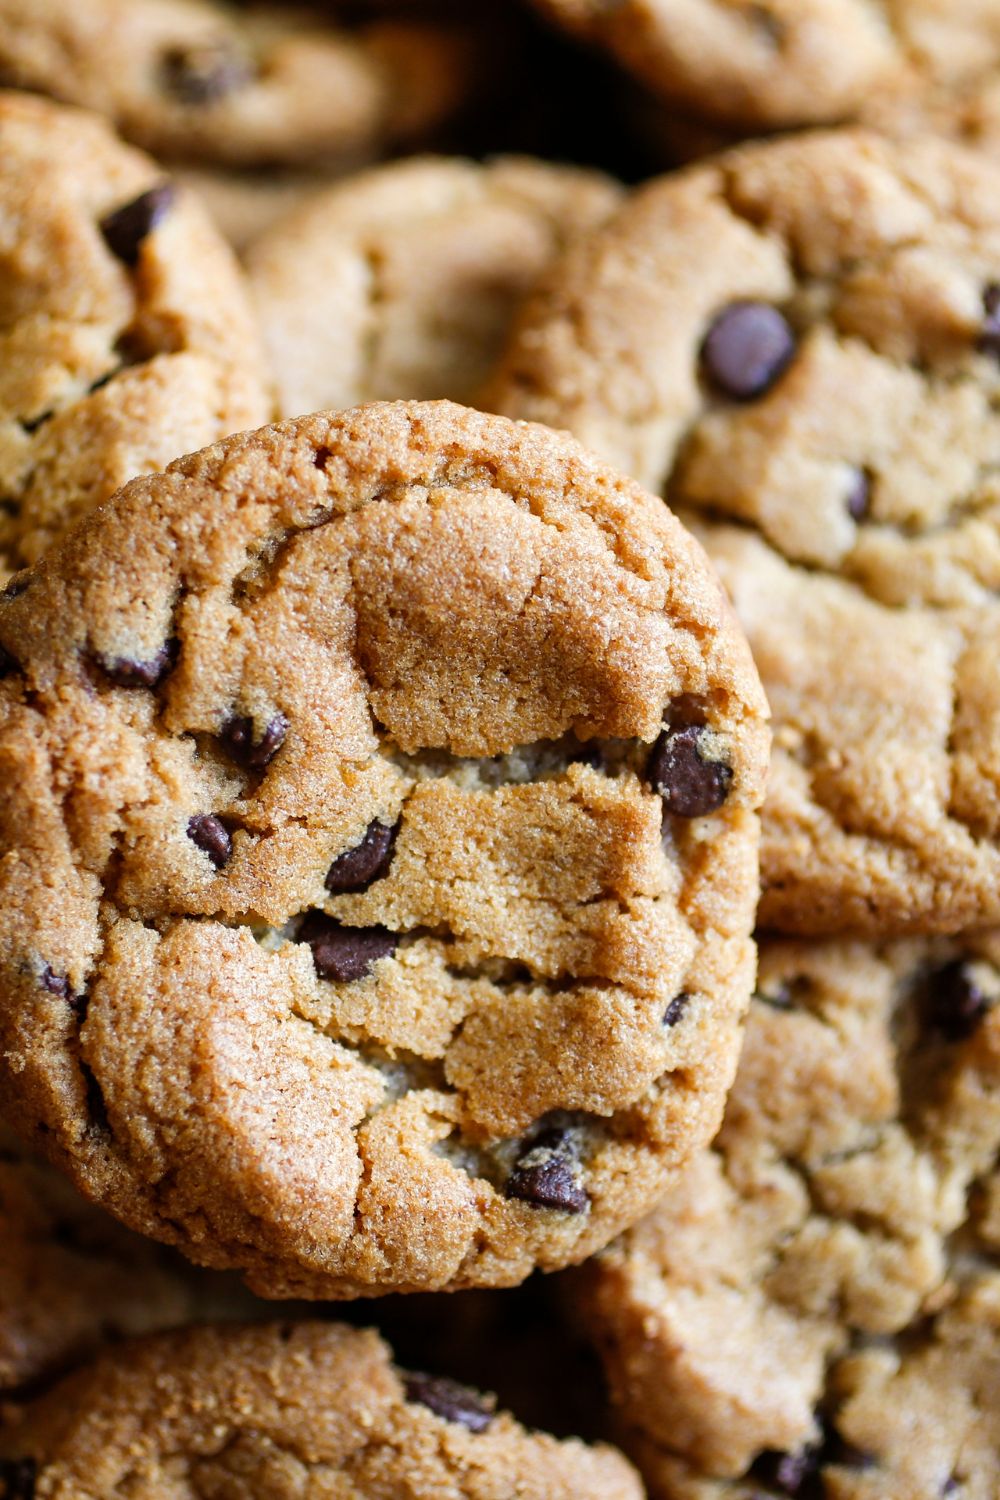
Enjoy the timeless goodness of chocolate chip cookies. Follow this recipe to make cookies with a perfect balance of soft and chewy, with just the right amount of chocolate chips.
2. Sugar Cookies with Royal Icing
[Link to Recipe: Sugar Cookies with Royal Icing]
For those who love to decorate cookies, these sugar cookies are the ideal canvas. They hold their shape beautifully and are perfect for intricate icing designs.
3. Peanut Butter Blossom Cookies
[Link to Recipe: Peanut Butter Blossom Cookies]
Indulge in the delightful combination of peanut butter and chocolate with these classic cookies. Their shape remains intact, allowing for the iconic chocolate kiss to sit on top.
4. Snickerdoodle Cookies
[Link to Recipe: Snickerdoodle Cookies]
Cinnamon and sugar lovers will adore these snickerdoodle cookies. With the right techniques, you can ensure they maintain their signature cracked appearance.
Troubleshooting Common Cookie Issues
While we’ve covered the topic of flat cookies extensively, it’s essential to be prepared for other common cookie-related problems. Here are a few additional tips to address other issues you might encounter:
1. Burnt Edges
If your cookies have burnt edges but are still undercooked in the center, reduce the oven temperature slightly and bake for a little longer. You can also try using a lighter-colored baking sheet to prevent excessive browning.
2. Too Puffy Cookies
If your cookies turn out too puffy and cake-like, it might be due to too much flour. Adjust the flour measurement in your recipe slightly and consider using a different type of flour.
3. Cracked Tops
For cookies with cracked tops, ensure you’re not overmixing the dough. Also, consider reducing the leavening agent (baking soda or baking powder) in your recipe.
4. Spreading Too Little
In some cases, cookies might not spread enough and remain in a ball shape. This can be due to using too much flour or not flattening the cookie dough before baking. Adjust the flour or gently press the dough down before baking.
Conclusion
Baking the perfect cookies that maintain their shape is an art that requires practice and attention to detail. By understanding the factors that contribute to flat cookies and following our expert tips, you can achieve beautifully shaped and delicious treats.
Whether you’re making classic chocolate chip cookies or intricate sugar cookies with royal icing, your baked creations will impress family and friends. So, roll up your sleeves, preheat your oven, and get ready to bake cookies that look as amazing as they taste.
Remember, baking is all about experimentation and personal preferences. Feel free to adjust and fine-tune these tips to suit your baking style, and you’ll be well on your way to cookie perfection. Happy baking!
Related Posts
- Why do my sugar cookies taste awful
Are your sugar cookies turning out less than perfect? Don't…
- What Extra Large Chocolate Chip Cookies Falling Apart on the Cooling Rack
Imagine You've just baked a batch of extra-large, irresistible chocolate…
- Baking Bliss: Crafting Delectable 3-Ingredient Peanut Butter Cookies.
If you're craving a quick, easy, and irresistibly delicious treat,…
- Can You Use Disposable Aluminum Cookie Sheets to Bake Perfect Cookies
When the sweet aroma of freshly baked cookies fills the…
- KT: Kiwi Tart role in cookie making Explained
In this topic, I'm going to talk about Kiwi Tart,…
- Why do those butter cookie tins always have sewing supplies
The Mystery of Butter Cookie Tins and Their Hidden Sewing…
- T: Turmeric role in cookie making Explained
In this topic, I'm going to talk about something close…

